Corrugated and sandwich roof | insertion system
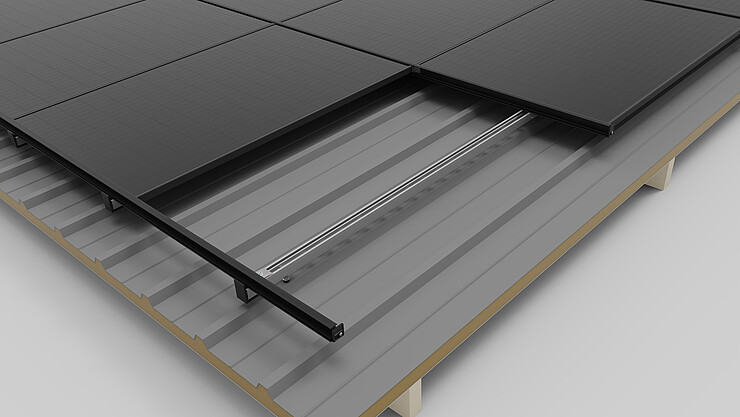
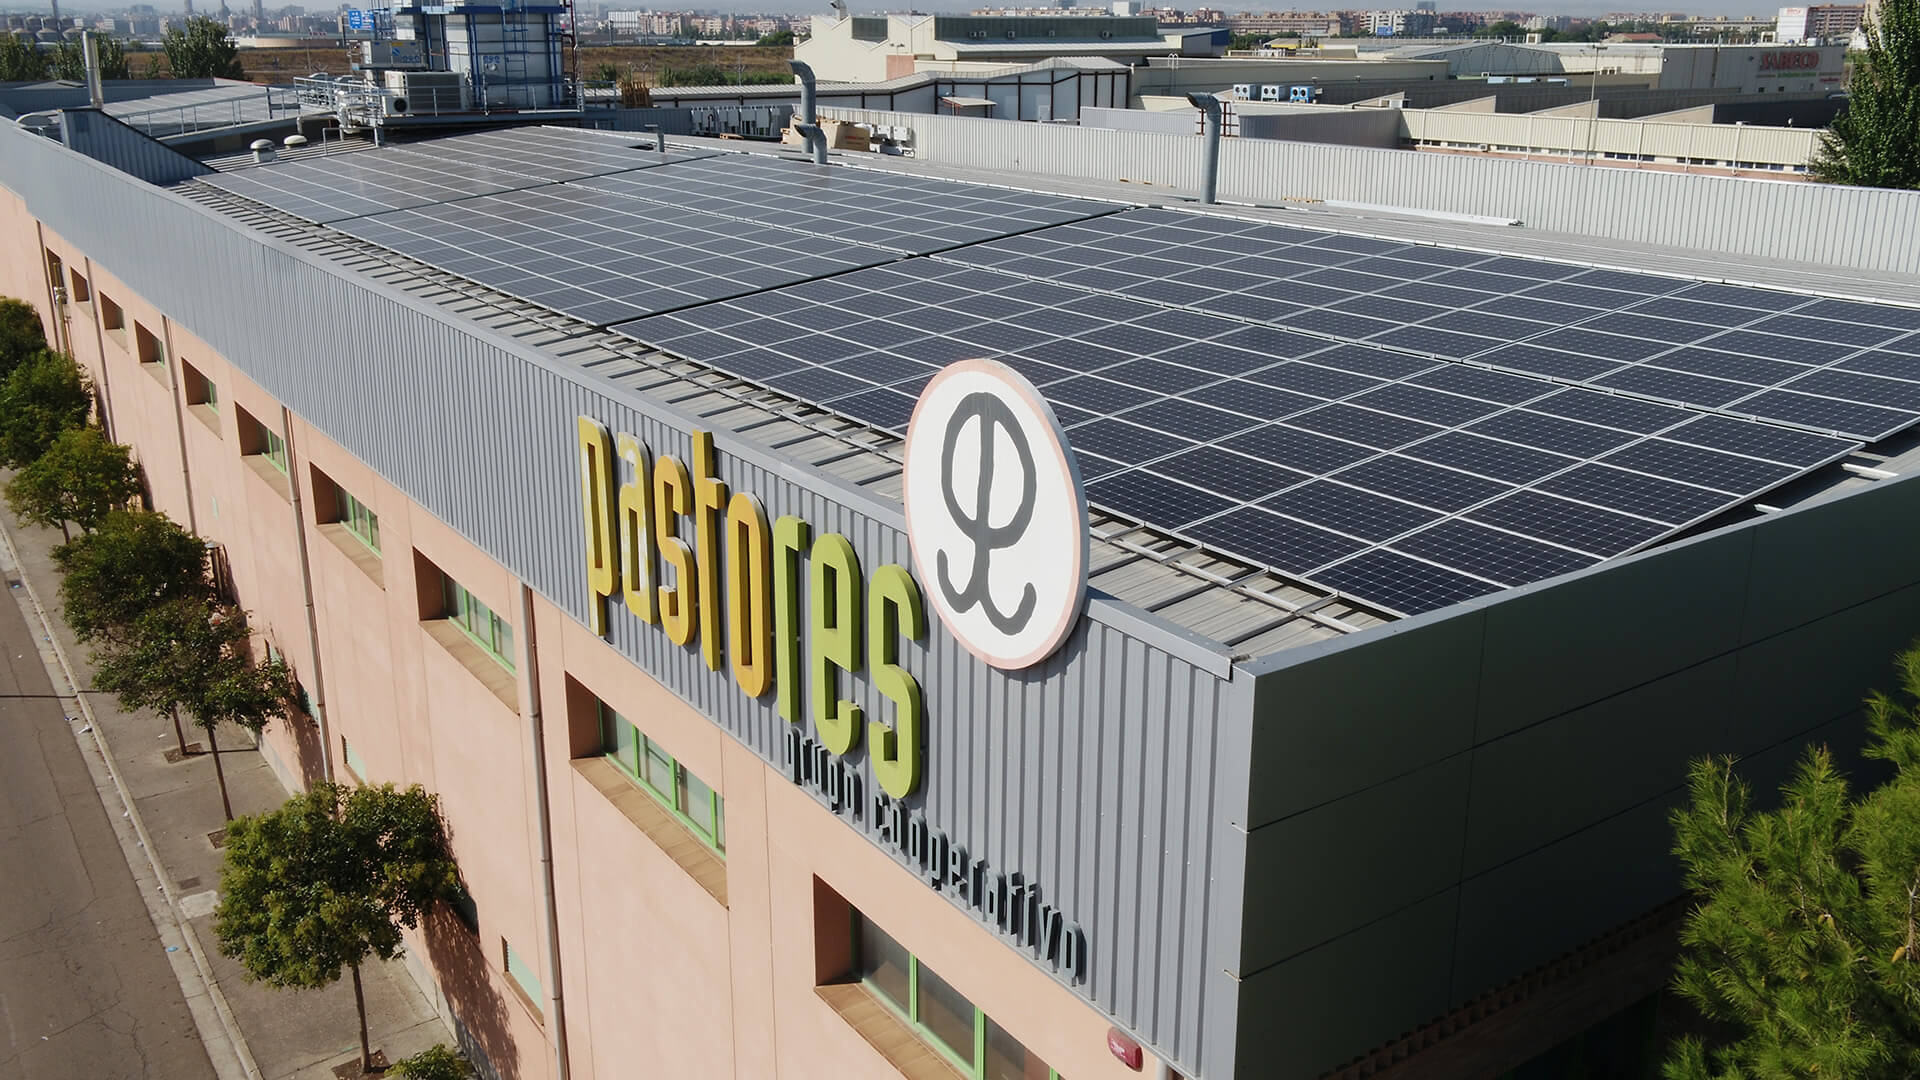
Insertion system with modules installed in portrait
- Components usable across different roof types
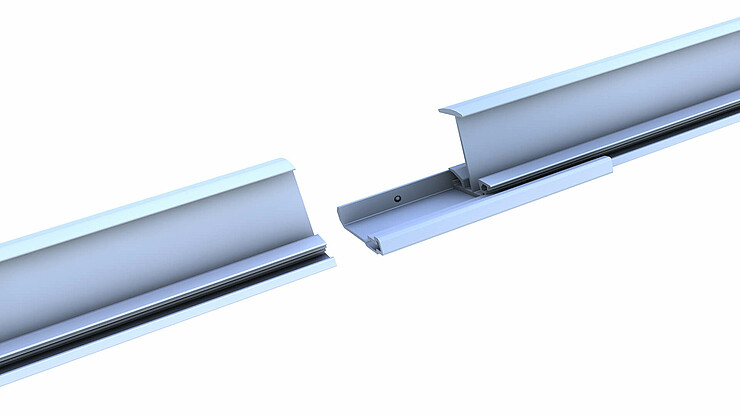
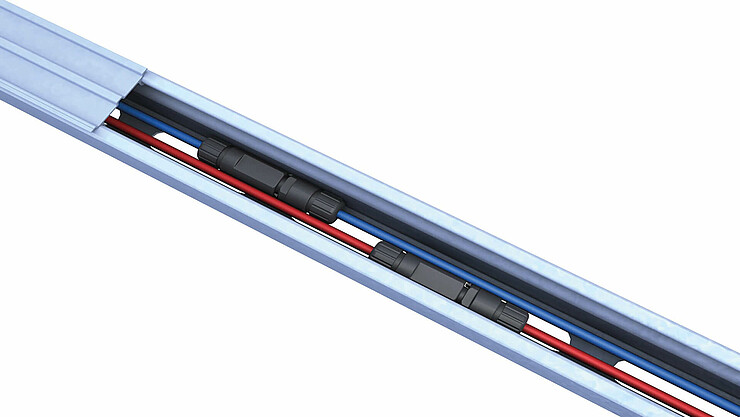
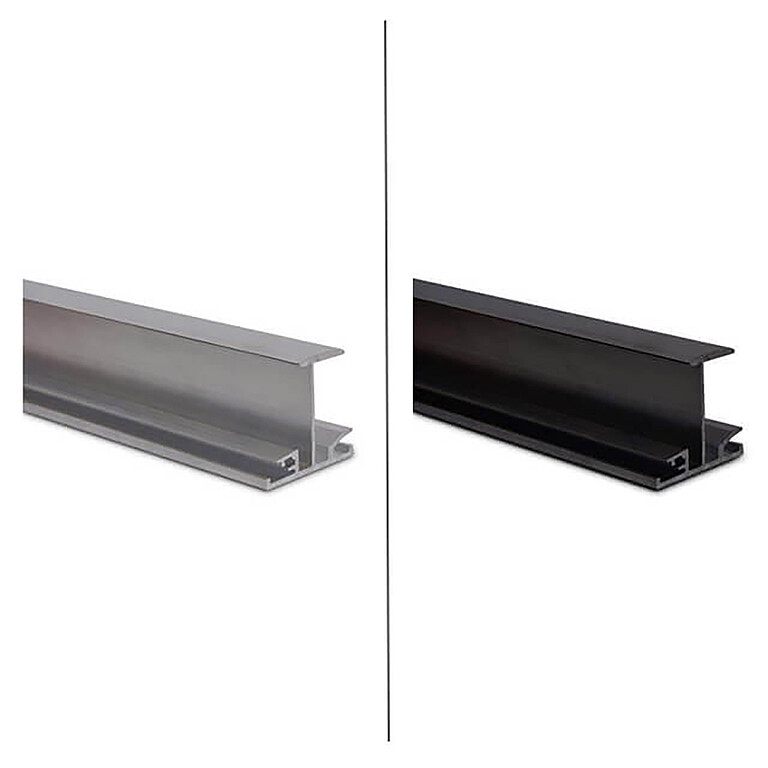
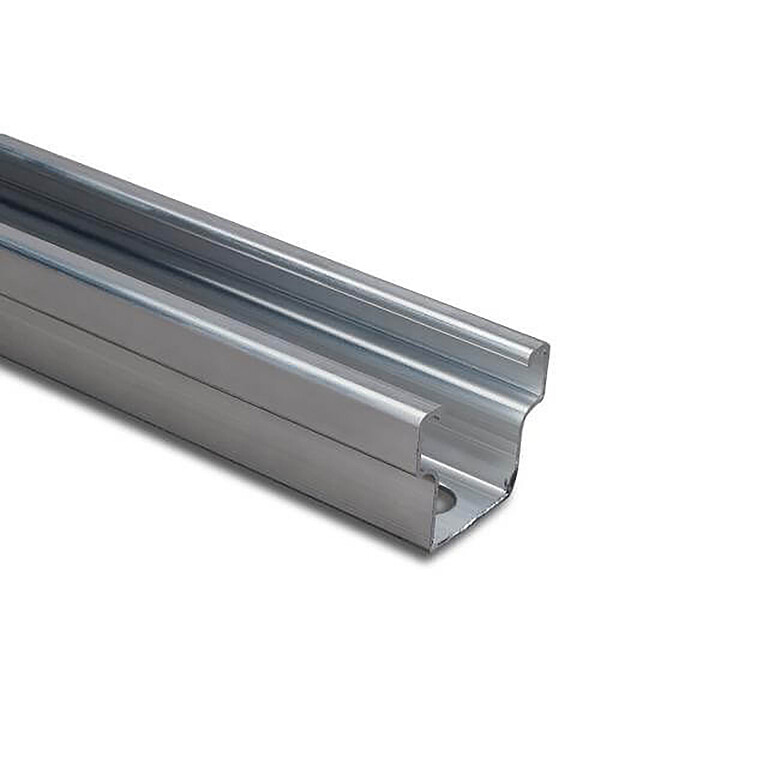
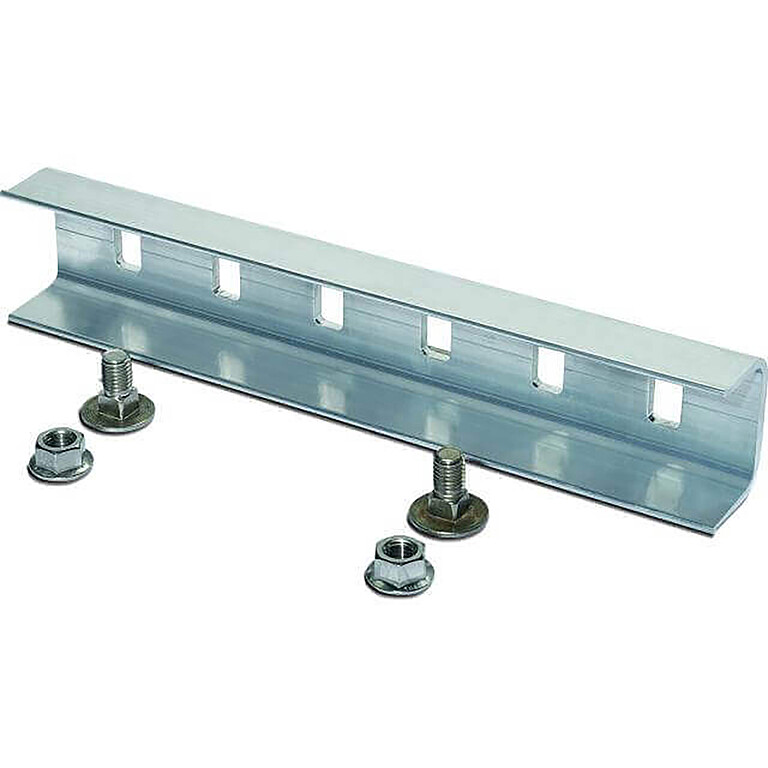
- C-rail also acts as a cable channel
- Mounting modules in portrait or in landscape
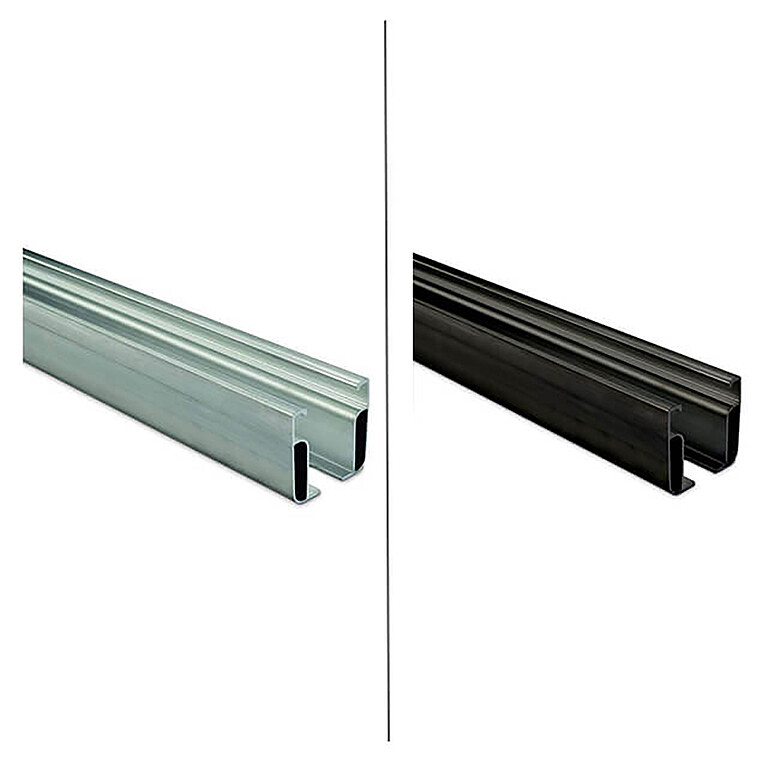
- Insertion rail in blank and black anodised – color matching the
module
Your benefits
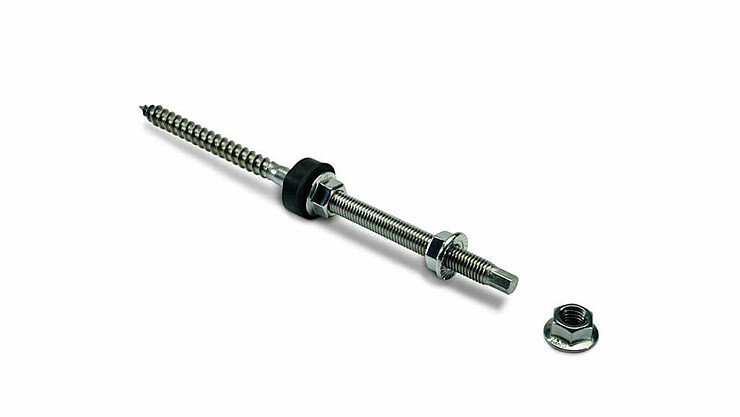
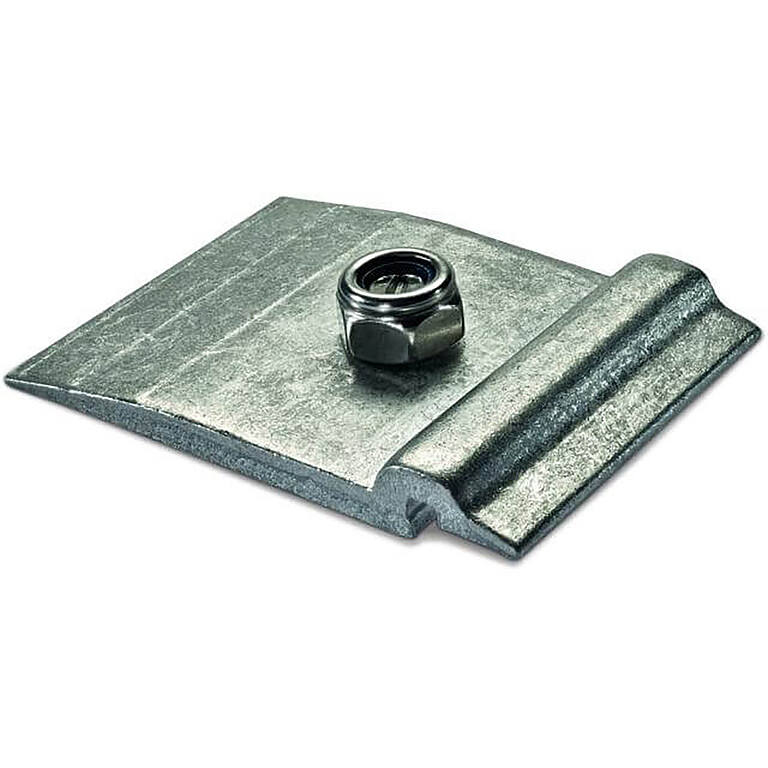
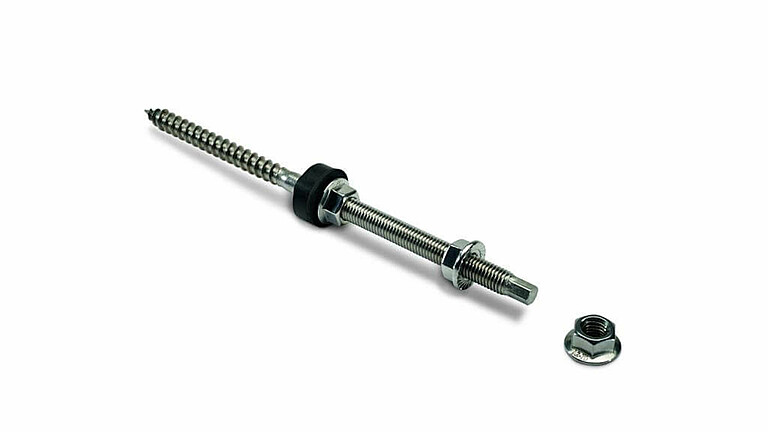
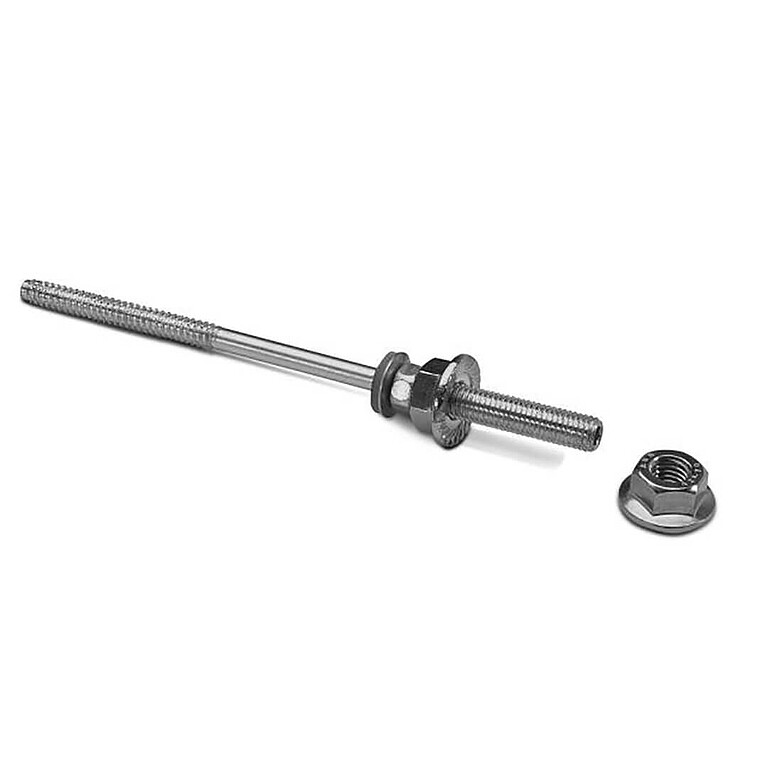
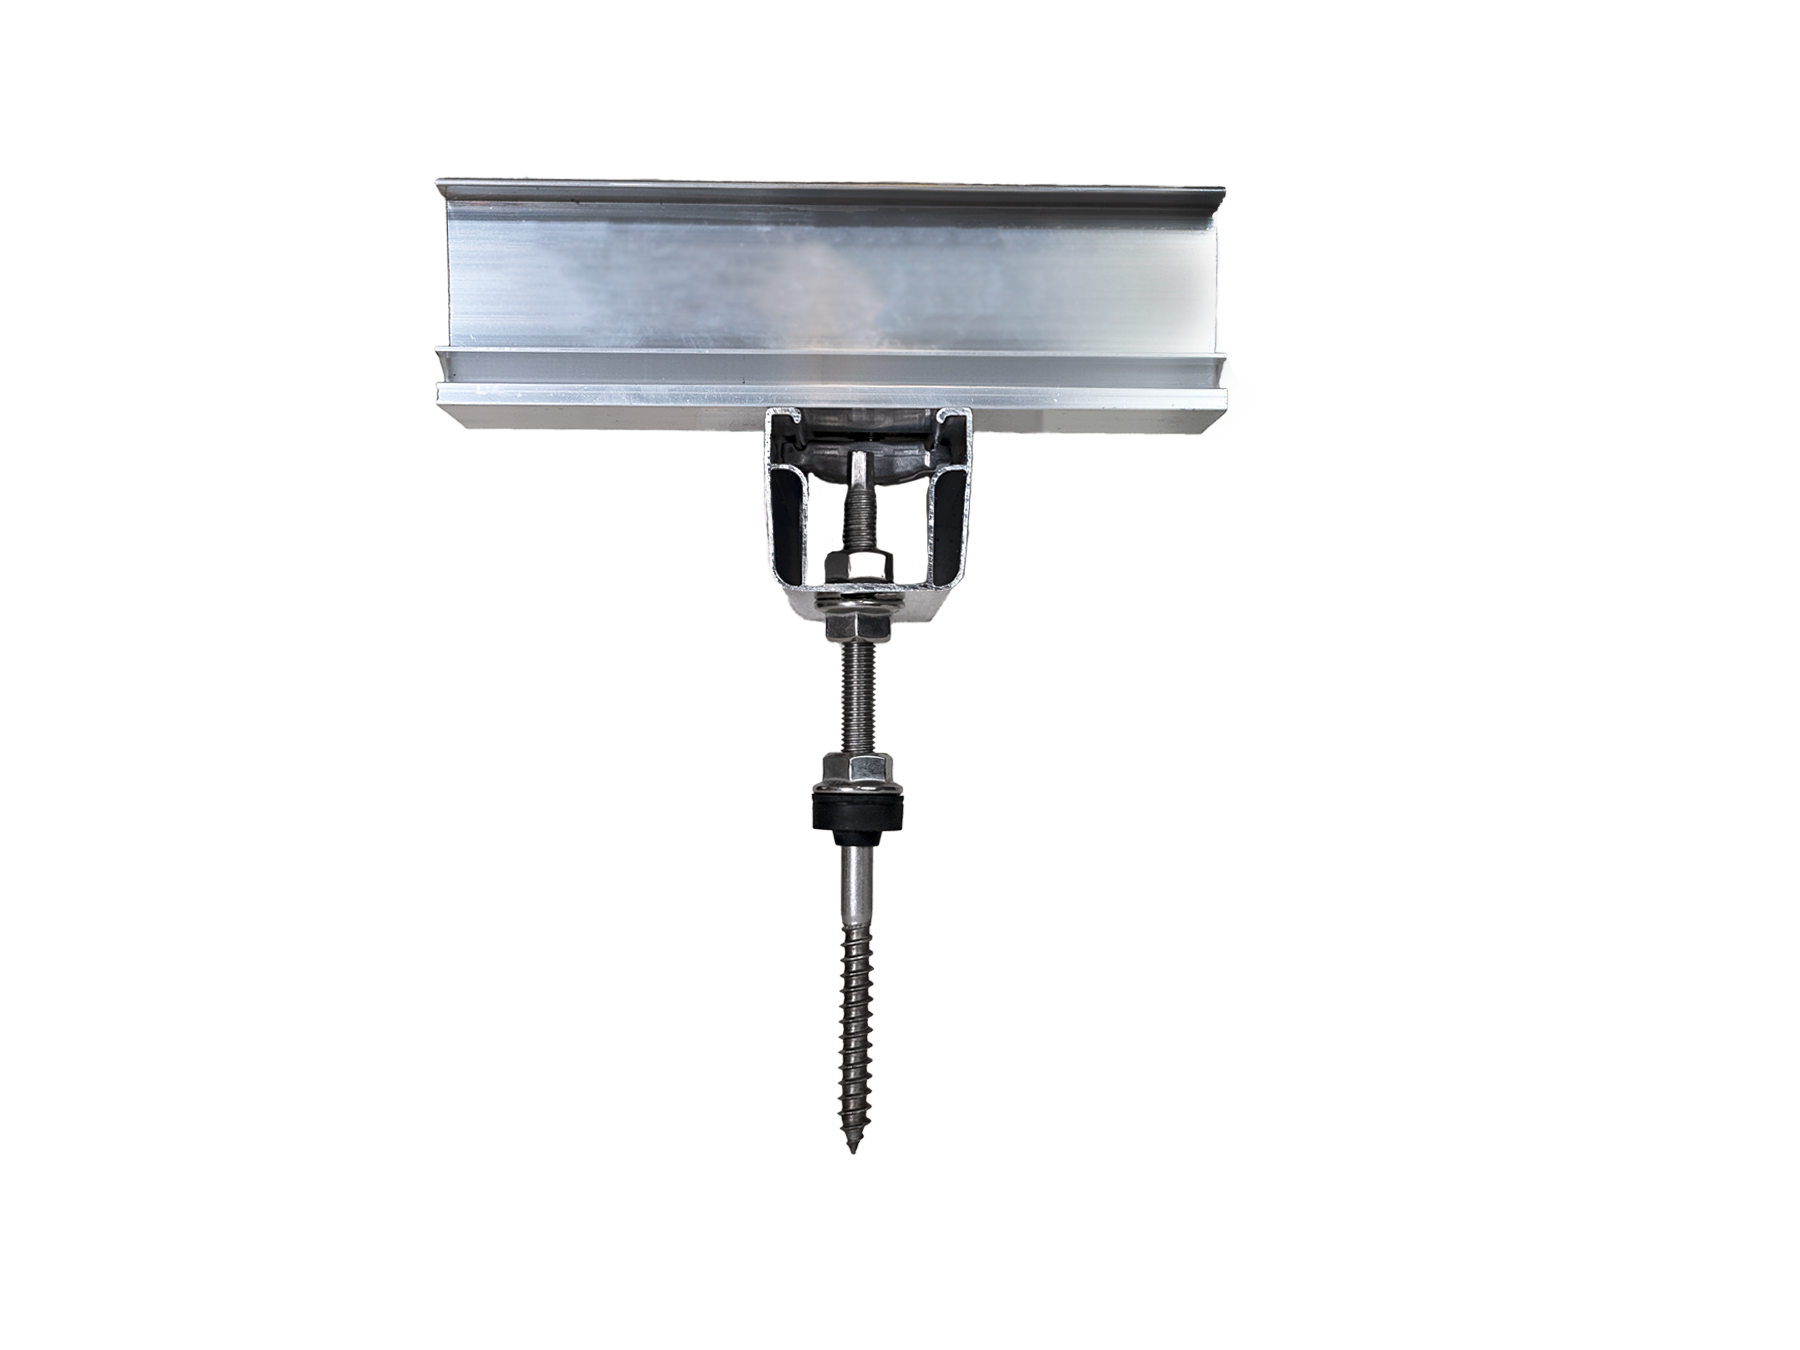
Completely pre-assembled stock screws with centric load distribution
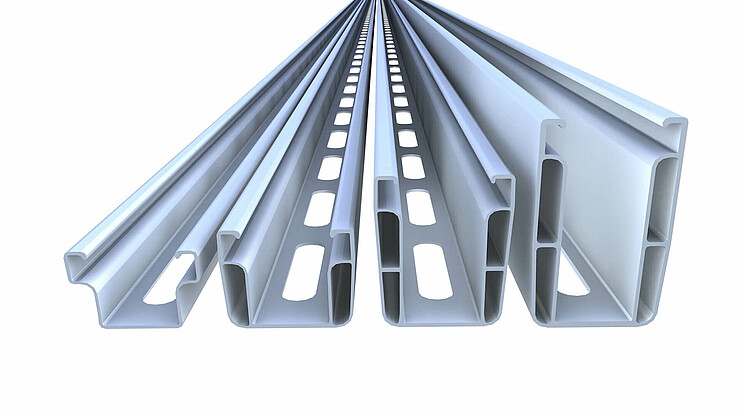
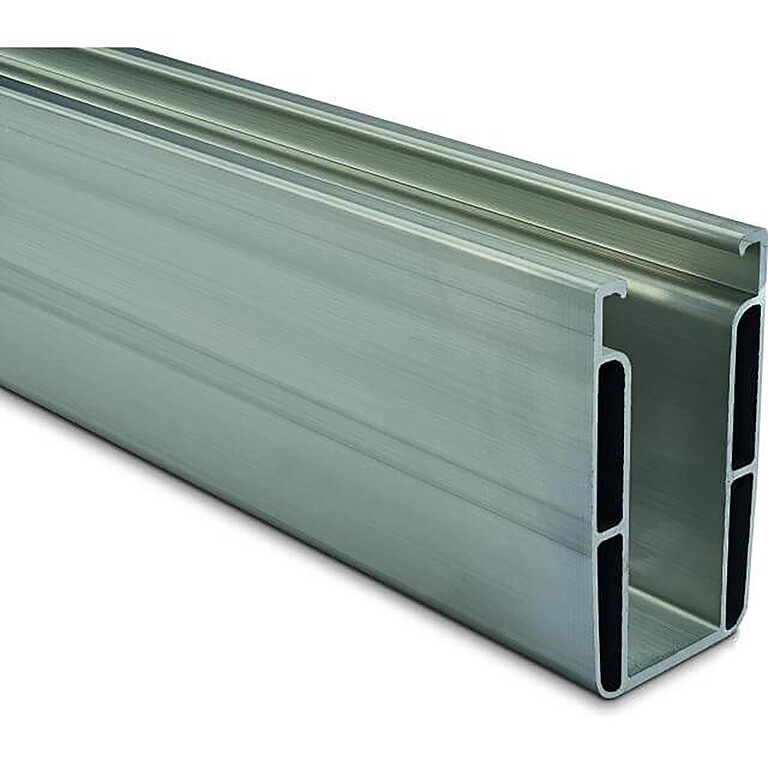
Big span lengths possible (C-rail 71-2 / C-rail 95-3)
C-rail also acts as a cable channel
Solutions for timber and steel purlin
Components
Components
Click on the + Icons to see components of this mounting system.
Accessories
Downloads
Module recommendation insertion system portrait
Manufacturer: AEG Solar, Aleo Solar, Aiko Solar, Canadian Solar, EXE Solar, Meyer Burger, Solyco, Sonnenkraft, SunPower Maxeon, Trina Solar, SOLARWATT
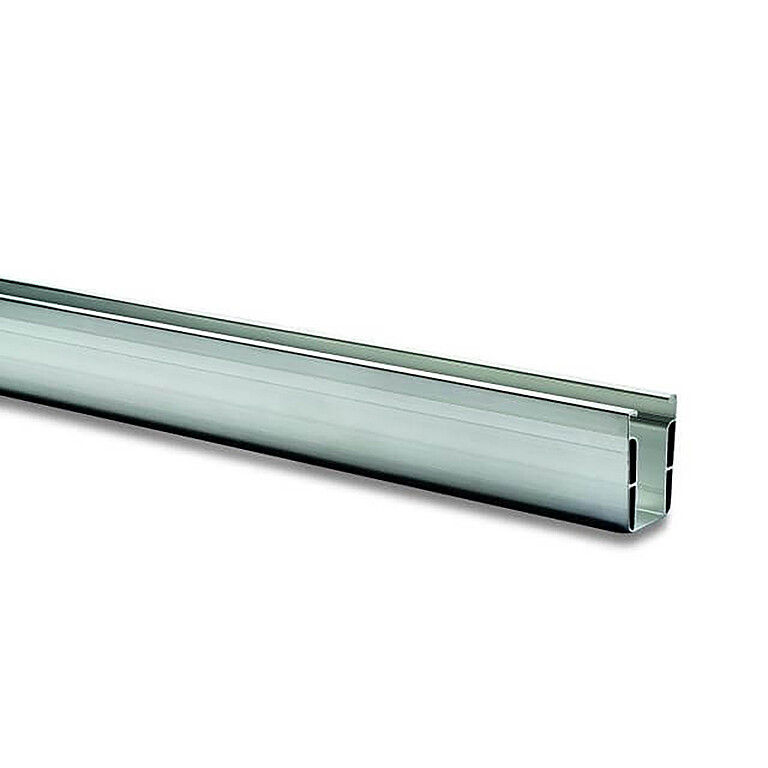
The values for wind and snow loads (Pa) can be found in the module manufacturer's installation instructions. The load values must be checked individually for each module type. The modules are held in place by a slide-in rail on the short side of the frame.

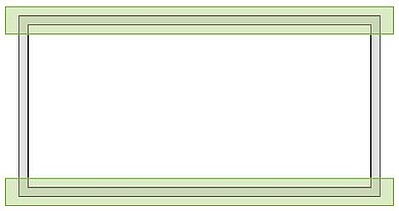
a = 56 mm
b = 30 - 50 mm
(Frame height)
Module recommendation insertion system landscape
Manufacturer: AEG Solar, Aleo Solar, Aiko Solar, Canadian Solar, EXE Solar, Meyer Burger, SoLuxTec, Solyco, Sonnenkraft, SunPower Maxeon, SOLARWATT
The values for wind and snow loads (Pa) can be found in the module manufacturer's installation instructions. The load values must be checked individually for each module type. The modules are held in place by a slide-in rail on the long side of the frame.

a = 56 mm
b = 30 - 50 mm
(Frame height)
More information about the corrugated and sandwich roof mounting system
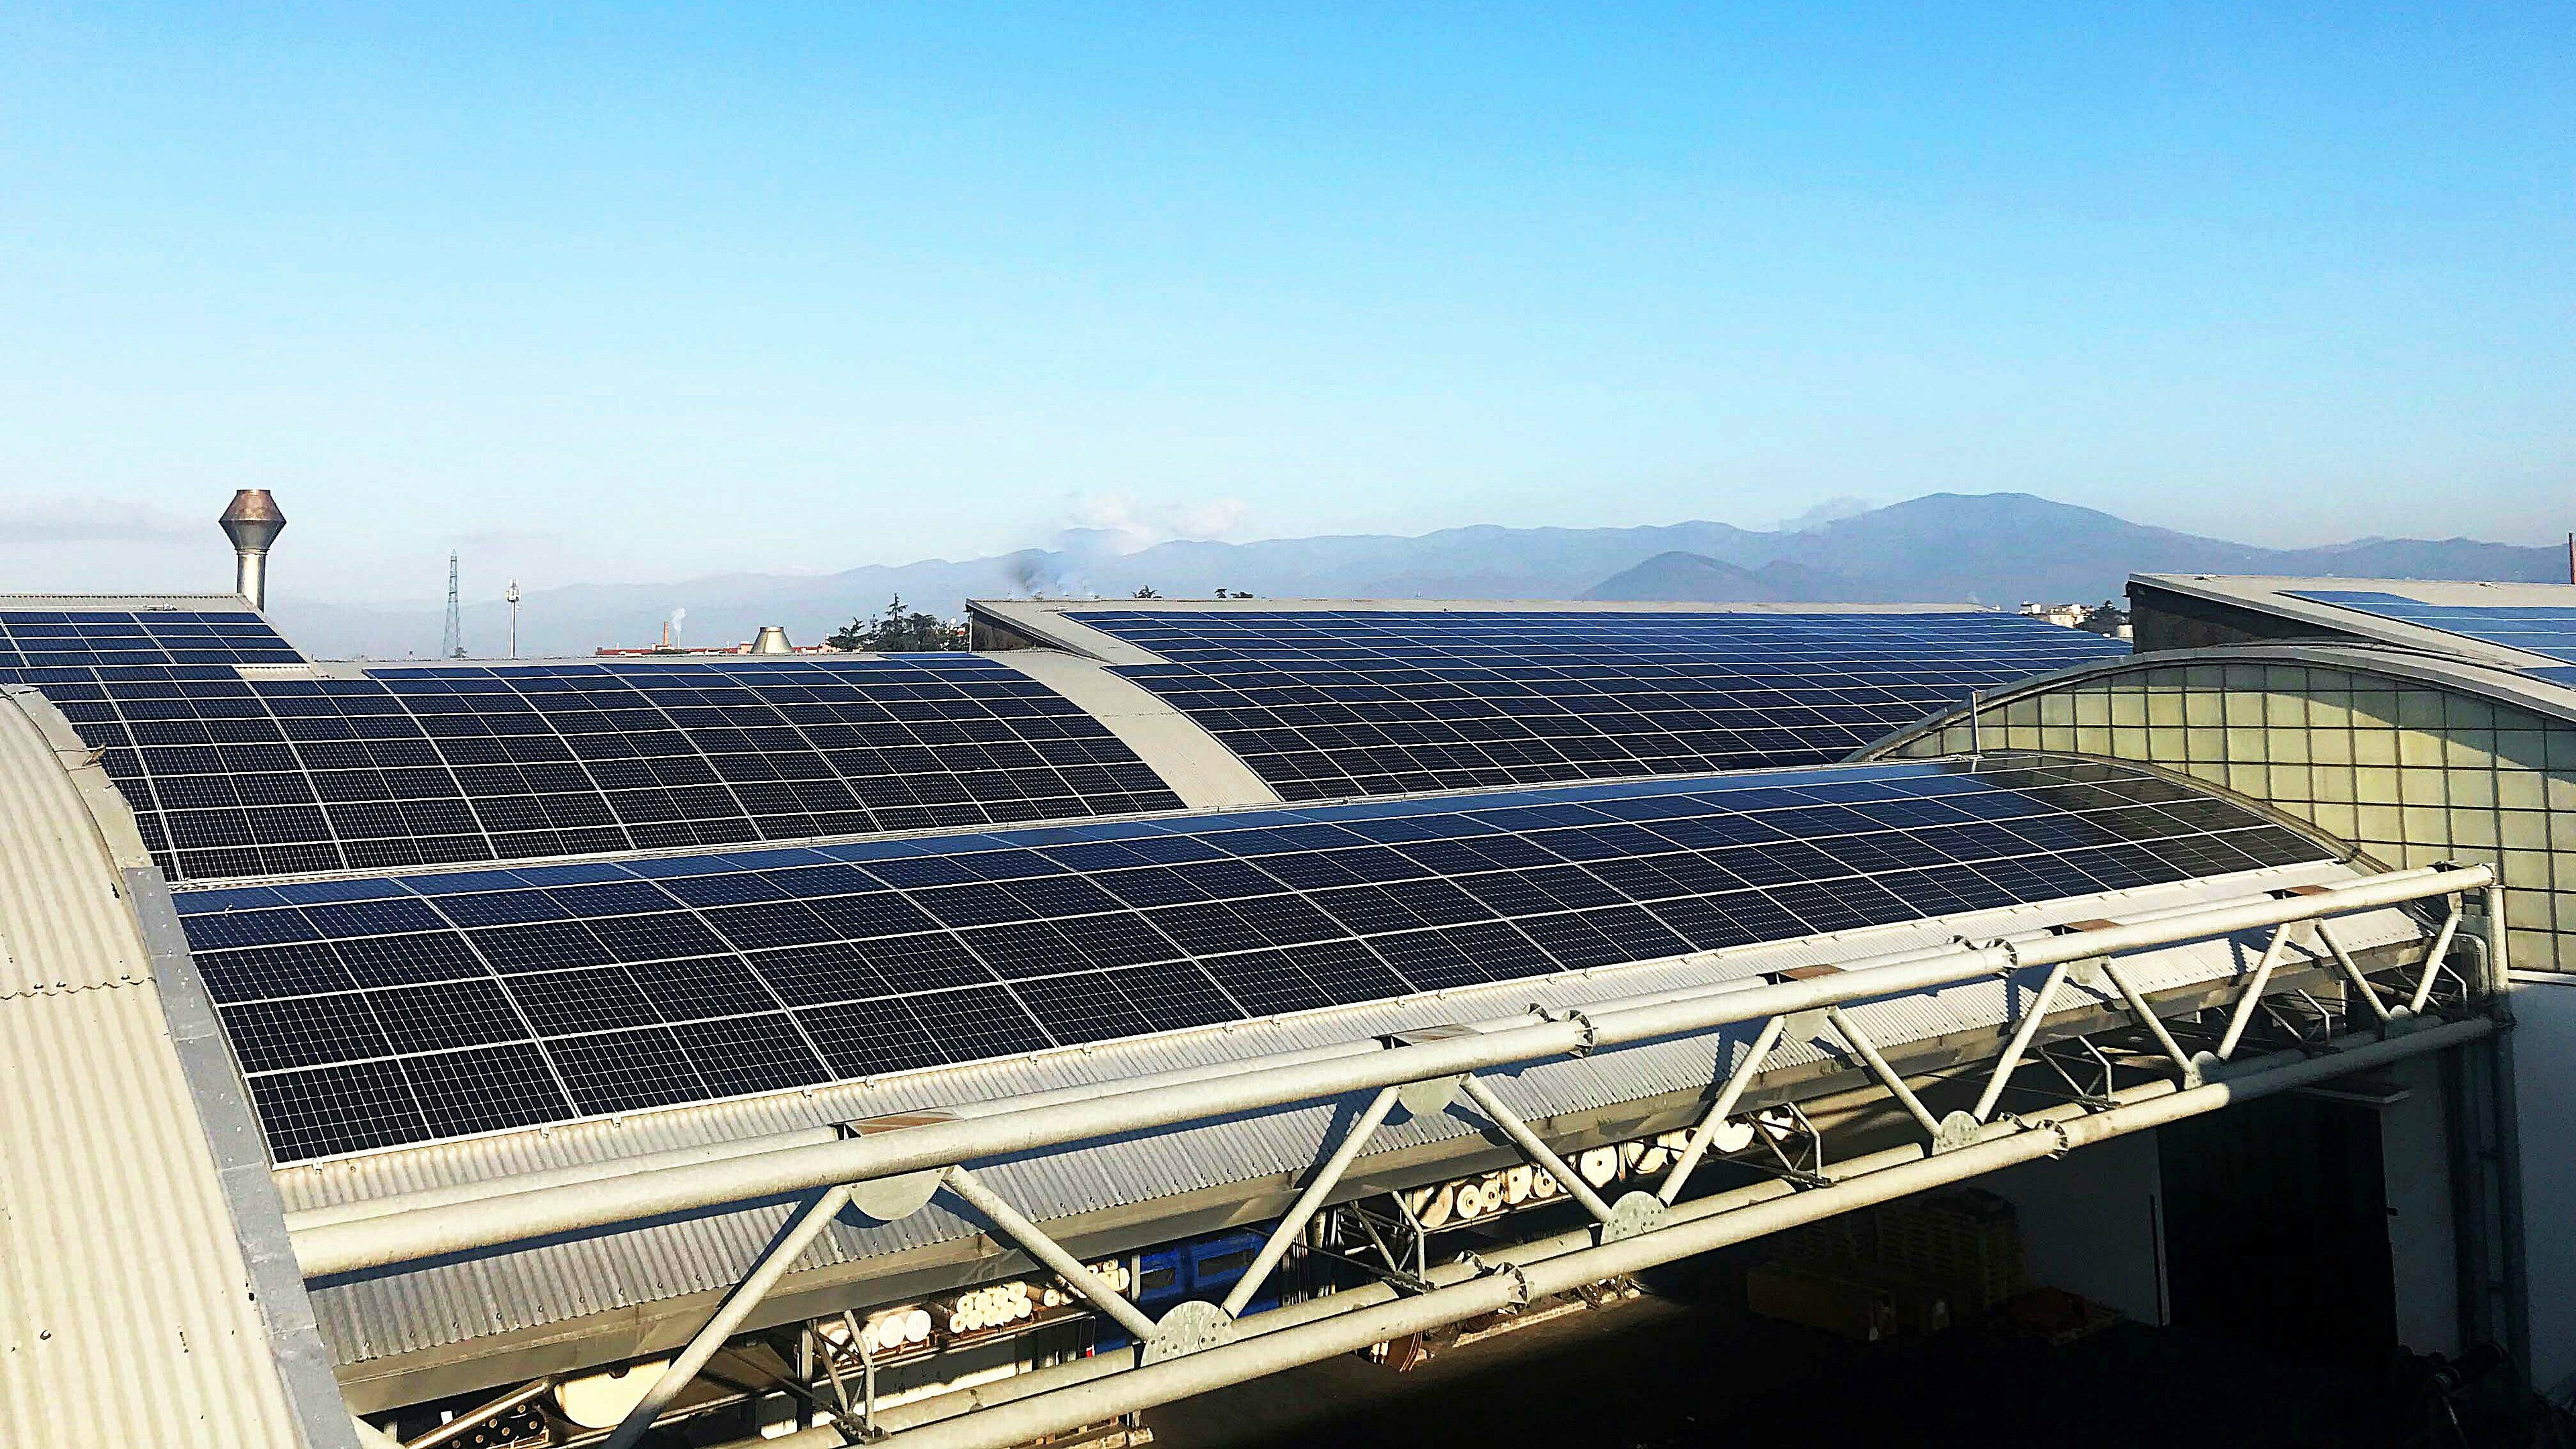
Whether you have a purlin roof with wooden or steel purlins, or a roof covering with corrugated or sandwich elements, with our stock screw set you can use our insertion system quickly and easily in your projects. The insertion rails are available in either blank aluminium or black to match the frame colour. The well-thought-out technology ensures security and mounting efficiency. As a floating installation, the module frame – vertical or horizontal – transfers the load to the rails. Insert the modules in the blink of an eye and lay the cables, including plugs, in the lower rail of the cross connection. The combination of the C-rail as a supporting rail and the cable channel makes it unique – tidy and efficient.
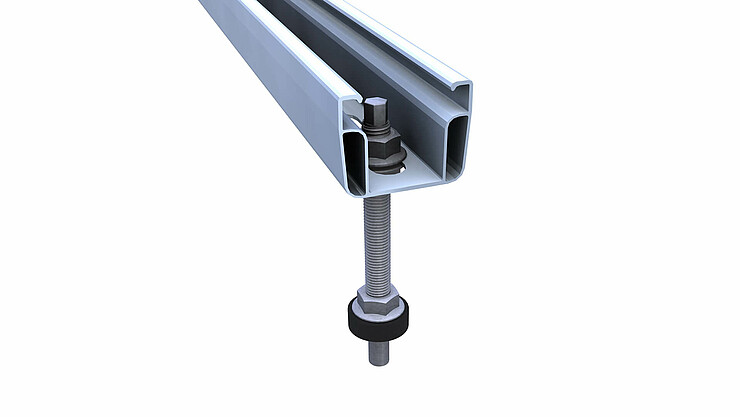
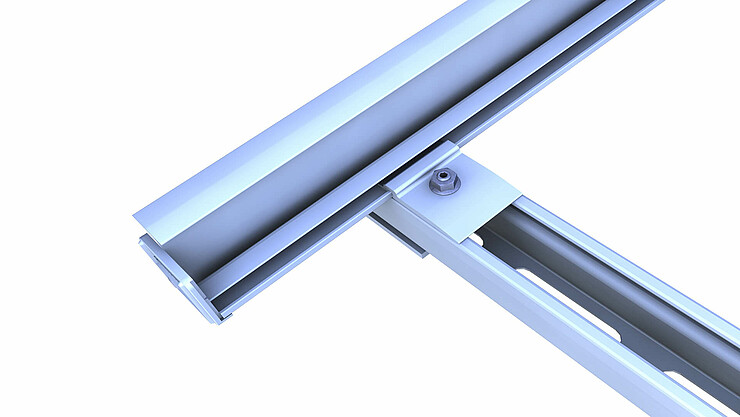
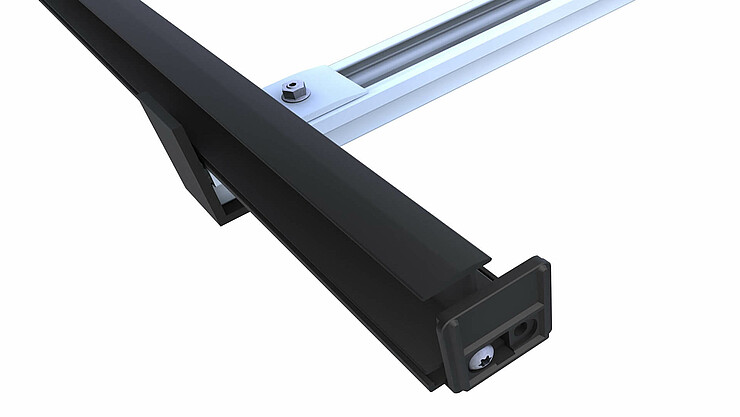
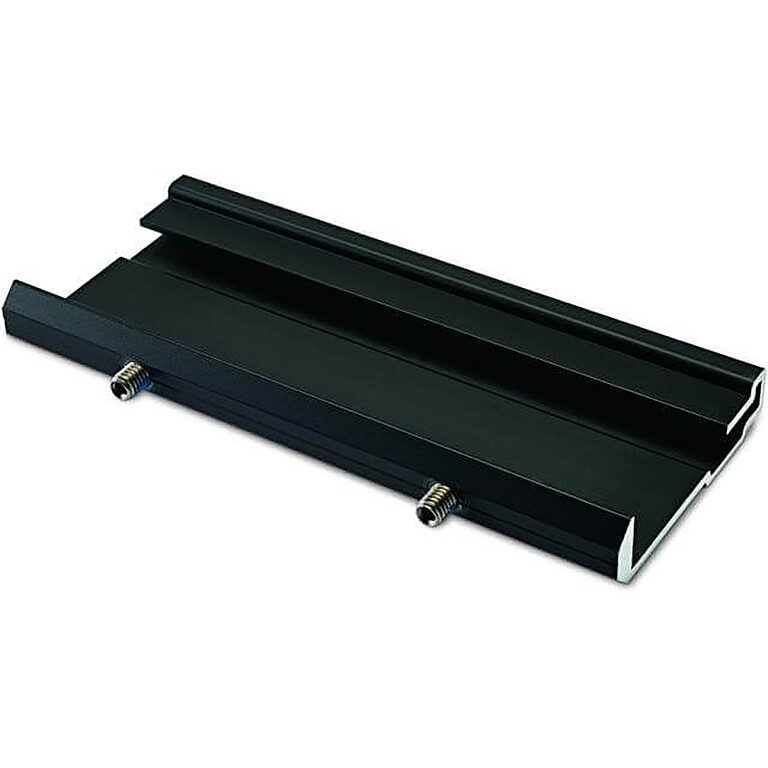
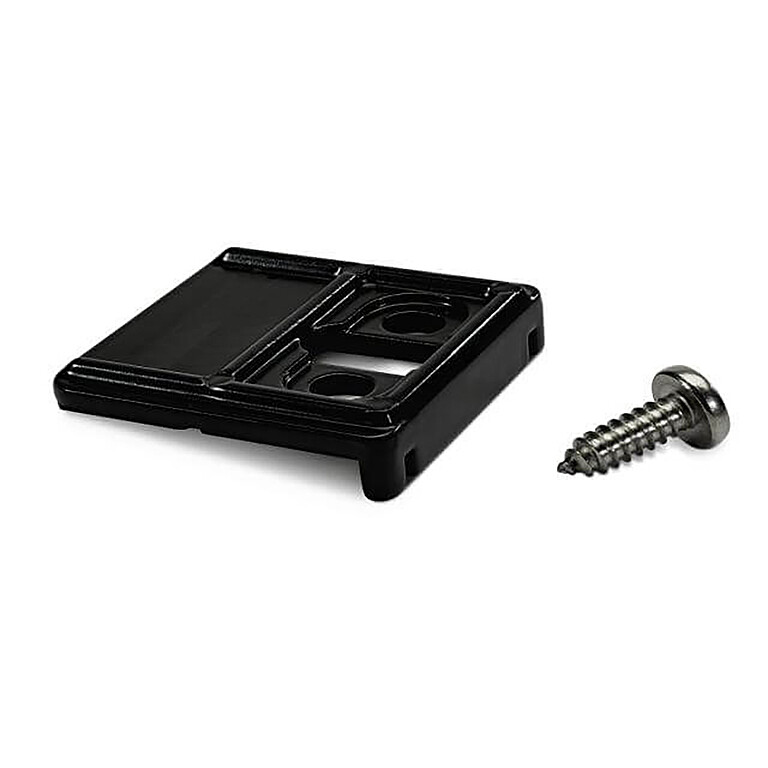
The connection of the C-rail to the stock screws using a traditional screw connection on the rail bottom enables continuous adjustment and levelling of the lower rail position. The centre connection of the C-rails to the stock screw transfers the load centrally on to the stock screw, meaning that it is not additionally subjected to bending stress – the stock screw set is available in various lengths and widths, perfect for any roof. The installation is completed with end caps and edge stops and can also be equipped with a snow guard – design and quality, that is what our insertion system stands for.
For further information on installing the system and fixing the components, please refer to the mounting instructions.
